IBM has recently released a free 14-day trial of IBM’s Maximo Application Suite (MAS).
The trial contains two of the MAS products – Maximo Manage (Maximo) and Maximo Health (Health). Whether you are an existing or new Maximo user, it is an excellent way to explore the updated navigation and feature sets available in both products.
Note: With MAS containing multiple Asset Management products, IBM has renamed ‘Maximo’ to ‘Manage’ in MAS. For simplicity, this document will refer to Maximo/Manage in MAS as ‘Maximo’.

After you sign up for the trial, IBM will send you an email with the url to access MAS along with a unique username and password. Here are 14 tips on how to maximize your use of the trial:
1. Tours
The first time you log in, a Tour Prompt will display. The Tour functionality is an excellent way to become familiar with the navigation and functionality.

If you choose not to initially do the tour, you can access anytime later by selecting the ‘Take a Tour’ link on the top left hand tool bar. This will give you a range of tour options including the ones shown below.
2. Default Log In – Health
Each time you sign into the suite, you will be taken to the Maximo Health (Health) Product. Identifying which application, you are in MAS will become important to your navigation within the Suite. To identify which product you are in, look at the top left-hand toolbar. In this case ‘Health’ displays. When you navigate to Maximo, it will display ‘Manage’ in the top left toolbar. Manage is the new name for Maximo in MAS.

Note: The trial log-in is different from a standard MAS log-in where the user is first brought to the Suite Navigator – where they then select which Maximo product to access (e.g., Manage or Health).
3. Health Applications
Three Health applications are enabled in the trial: Assets, Locations, and Work Queues. These are accessible via the toolbar on the left side. There are additional Health applications including Scoring and DGA Settings that are not exposed in the trial.
Within the Assets and Locations applications become familiar with the navigation.
a. Sort the list tab values by clicking on the columns including Health and Criticality.

b. Search for records using the magnifying glass.
c. Navigate between the three different views of your records: Table, Map, and Chart. (Note: The map option did not display in my trial instance.)

4. Health Views (Queries)
Like Maximo, Health is heavily reliant on queries to display and work with sets of assets and/or locations. Also – this is an area that highlights the tight coupling of Maximo Health and Manage – as both products share the same database.
a. To see the Health Queries (Views) – navigate to the top left hand side of the tool bar. By default – View All (Shared) displays.

b. Open the query dialog and scroll UP. You can now see that in addition to individual Health Queries. You can select “Manage views.”
c. Select Manage views to display Maximo queries created in Maximo asset application. Within this dialog, there is a flag you can set to enable all queries or only the private queries.
5. Health Work Queues
Health work queues are collections of assets or locations that you want to take action on. For example, if there are a set of assets with a low health score, or no health score, you may want to create a queue to take corrective action on these assets. The trial contains five work queues as shown below.

a. Select any queue and continue to drill down within the queue to see the individual metrics of the asset. Alternatively, you can select ‘Open first asset’ and use the navigation on the left-hand side to access the next asset record.
b. To navigate back to the Work queue home page, either click the ‘Work Queue’ icon on the left-hand side toolbar or use the navigation tree in the top toolbar.
6. Create Health Plan
As a reliability engineer using Health, you will want to take corrective actions on assets missing critical information. Within the work queues, you can create a plan for an asset including Decommission, Refurbish, and Replace.
a. To do this, access an asset from any one of the work queues. Follow the blue button on the left-hand side for ‘Actions’ and select ‘Create Plan’.

b. To view your plan, navigate to the Replacement Planning section of the Asset, and expand the results.
*Note: Remember you are working in a shared instance of MAS, so you will see other plans and information in addition to what you have entered.
7. Create Health (Maximo) Work Order to Maximo
Create a Work Order in Health to see the tight integration of Health and Maximo.
a. Select a work queue, then an asset, then follow the ‘Actions’ Blue Button to create a Work Order.
b. After creating the Work Order, capture the Work Order Number that is automatically assigned by selecting Maintenance history. In this case, it is Work Order 1673.

8. Navigate to Maximo
There are multiple ways you can navigate from Health to Maximo to access the work order you created including:
a. Click on the Work Order Number, which will directly open the record in Maximo’s Work Order Tracking.
b. From the menu on the top left, enter ‘Work’ and select Work Order Tracking and navigate to the record.
c. From the top right-hand menu, select the 9-dot App Switch Icon and select Manage.
From these options, Maximo is now available in a second browser window, and you can view the details of the Work Order you input in Health in Maximo.
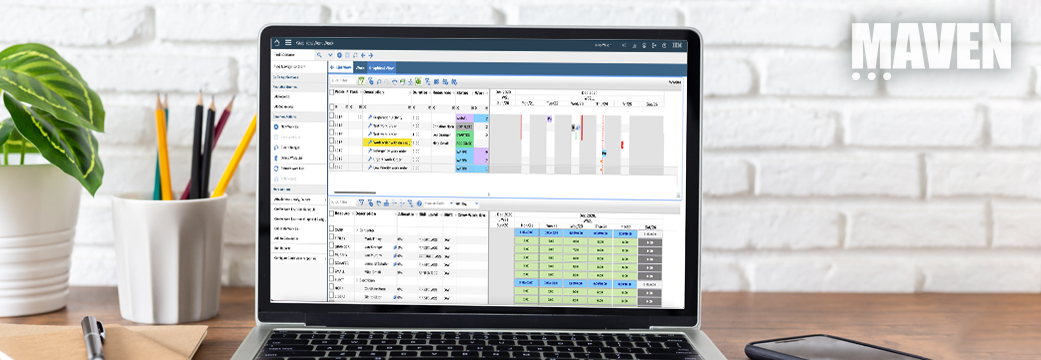
9. Review Maximo UI Updates
Now that you are in Maximo, try out some of the new UI and navigation features.
a. With the work order record you created, navigate to the Plans Tab. Under the tasks section, add new tasks using the + tab which replaces the ‘New Row’ button used in previous Maximo releases.
b. Add Planned Labor by selecting a craft type. When the craft dialog displays, use the filter to only find crafts with ‘mech’ for example. Fill out the balance of the planned labor fields and save.
c. Bookmark your record so you can find it in the future.
d. Review the actions on the left-hand side. Notice the action menu is not collapsible in the trial and all actions are not enabled.
10. Review Maximo Queries
As noted earlier with Health, queries are critical to consistently accessing a set of records to review or act on. Query and record navigation has changed in MAS and is another excellent area to explore.
a. Navigate back to the home page of Work Order Tracking. On the far left-hand side, check that ‘All Records’ display.
b. Build your own query by accessing ‘More Search Fields’ – which is now located by accessing the hamburger (3-dot) icon next to the magnifying glass on the top right-hand menu. This action menu contains the Maximo querying features you are familiar with.

11. Access the new Role Based Applications (RBAs)
IBM introduced Role Based Applications (RBAs) in MAS as a replacement for Work Centers. RBAs are built on the new Maximo Application Framework (MAF), which enables configuration and re-usable components. RBAs are available in a connected browser mode, and either replace a previous Maximo Work Center or add new role functionality via a dashboard view.
The quickest way to explore the RBAs is to open the Work Order Module on the left hand side. Navigate down and expand ‘Role Based Applications’. Four of the RBAs – Inspections, Technician, Work Approvals, and Service Requests are replacements for the prior work centers. Work Orders is a new role-based Operational RBA.
12. Explore the updated Service Request RBA
Access the Service Request RBA (previously work center) from the left navigation or by searching on its application name. Notice when you select it, it displays in a separate browser session. Navigate between the Active and Completed Requests on the far left hand side, or enter a new Service request by following the Blue Button + on the right hand side.
13. Explore the new Work Order RBA
The Work Orders RBA was recently introduced to provide a simplified view of Work Orders. As you explore its functionality – note how similar it is Health. The simplified query (view) and the ‘Create work order’ functionality is the same in Maximo’s new Work Orders RBA as it is in Health.

14. Explore!
The most important thing with the trial is to try out as much as possible! Sign up for the trial when you are sure you have time to explore the features and navigation of Maximo and Health. Also, note that while the trial does not include the full suite of applications available in Maximo or Health – it does provide extensive access which would be applicable to many user roles.
To view these 14 tips, access this video demonstration here:
If you have any questions on MAS or would like additional information or demonstrations, please contact the Maven team at MAS@mavenasset.com.