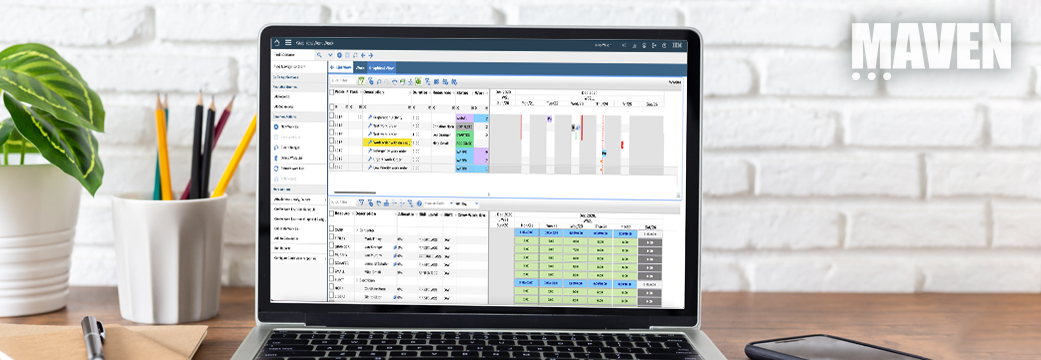
Maximo’s reorder process can help to minimize warehouse costs, while also ensuring that your organization has what it needs when it needs it. At times, we’ve heard clients express concern about allowing Maximo to initiate the reorder of spare parts – they feel they will lose control of the process. However, Maximo’s reorder tools provide for both flexibility and control, as demonstrated here.
Reorder can be used to purchase inventory, non-stock items, material requests, services, and standard services. Here are some quick definitions on those:
- Inventory Items: These are the stock (STK) type items that are set up in item master and added to a storeroom.
- Non-stock Items: These are the items kept at no balance, but there is still an Item Master record. They are set up as non-stock (NS) type items in Item Master. After setting an item up as NS, it cannot be added to a storeroom. Another option is to create a STK item and set the reorder point to negative one. We’ll cover why you might do that later in this series.
- Materials: Materials are entered into the system via a material line on Work Order plans, Purchase Request or Order, or a Desktop Requisition. Materials are generally the purchases that are not tracked with an Item Master, often called one-off purchases. Reviewing material orders can often identify Item Master records that should be created moving forward. Entering a material line on any of the above records is as simple as changing the line type to MATERIAL and entering a description of what is being ordered.
- Services: Just like materials, services are ordered by changing the line type on Work Order plans, Purchase Requests, Purchase Orders, and Desktop Requisitions. Service lines provide a way to purchase outside labor.
- Standard Services: These provide a way to create item records for services. They are configured in the Service Items application; using Standard Services will aid in reporting on service usage.
The Setup
Step 1 – Creating an Item Master Record
Let’s create an item master for an item to stock and reorder in our example.
Go To 🡪 Inventory 🡪 Item Master 🡪 Create a new Item Master record

If autonumbering is set up for items, the item master record should already have a number. If not, enter an item number. (Maven recommends setting up auto-number for Item Master records.) Enter a description for the item, order unit, and issue unit.
Classifications are a great way to enter uniform descriptions for item records but they are a step beyond this guide, and will be covered later. The commodity group and commodity for the item are also important fields to fill out, but it’s not necessary at this point in time. Once again, we will cover more information on those in a later section.
The Item Master record is now created. It will need to be in the ACTIVE status in order to use it anywhere else in the system. (Common Actions 🡪 Change Status) Make sure to check the checkbox for “Roll changes to Organization and Inventory.” If you forget this step, it can still be accessed under More Actions 🡪 Item/Organization Details.

Step 2 – Creating a Storeroom
Next, indicate where the item is stocked by adding it to a storeroom.
Go To 🡪 Inventory 🡪 Storerooms 🡪 Create a new Storeroom record
Enter a storeroom name and description. Then, save the record.

Step 3 – Add the Item to a Storeroom
From the Item Master record, go to More Actions 🡪 Add Items to Storeroom. In the pop-up window, select the created storeroom in order to stock the item there.

The next window allows you to enter a cost type, bin number, and current balance for the item. For this example, set the bin number to BIN1 and current balance to zero. Cost types will be covered later.

Step 4 – Manage Your Inventory Reorder Details
Now we need to manage the inventory record that was created.
Go To 🡪 Inventory 🡪 Inventory 🡪 Press enter or search for the item you created.

The inventory record for the item will display. Switch over to the REORDER tab on the Inventory screen. Ensure that the “Reorder?” checkbox is selected. If not, this item will never be reordered. Next, fill in the reorder point, economic order quantity, and make sure there’s an order unit.

Reorder Point – Maximo does not manage inventory by min/max. The reorder point is essentially the minimum available quantity at which point an order needs to be processed before there are no items available for work. Put simply, this is when we want to reorder. Set it to 5.
Lead Time – The lead time field specifies how long to expect it to take for the vendor to deliver the item. This is important when you start to improve your inventory efficiency because we want to try to order early enough so that materials are available to perform work on time.
Safety Stock – This field does nothing unless you are using Maximo’s reorder point analysis report to try and figure out better reorder points. Safety stock will not alter the reorder in any way, nor will it stop the issue of items beyond the safety stock level.
Economic Order Quantity – Essentially, this is “how much” to order when making an order. Suppose this is a donut purchase, and the baker gives a discount for ordering a dozen. If it makes sense to stock a dozen, then ordering at least a dozen at a time so that you receive a discount is reasonable. Set this to 12.
Order Unit – Since it is technically possible to create an Item Master record without specifying the order unit, it can also be specified at the inventory level. This can be changed from what was specified at the Item Master level. Often, there are multiple storerooms set up, or different geographically, and they do not require the same stock levels or even similar order units.
Step 5 – Perform Inventory Stock Reorder
This can be run from the item screen to run it for just this item, or it can be run from the list screen. Go back to the list screen so you can familiarize yourself with running a reorder for an entire storeroom.
Go To 🡪 Inventory 🡪 Inventory
Enter the storeroom in the filter and hit enter. Maximo will only allow you to manually run reorder for one storeroom at a time.
More Actions 🡪 Reorder Items

Maximo will pop up a warning at this point letting you know that reorder is being run from the list screen for potentially many items. Click OK.
The following screen will appear and some of these options will be covered later as they can be very useful to your organization. For now, uncheck “Run in Background Mode” and click the “Preview” button located at the lower right.

Preview should show the item we just set up and Maximo should be attempting to order 12 of them. Why? Because we set the economic order quantity to 12, and that is the minimum order that gets us above our reorder point of 5.

From this screen, you can modify what reorder will output as a Purchase Request. If desired, each line can be deleted, and it will appear the next time a reorder is performed. In our case though, we want to order it and get this item in stock. Click on the “Reorder” button.
The following screen should appear and show that Maximo has generated a PR:

With that, the reorder process has been initiated. In the next article of this series, we will discuss item reservations and reordering materials and services.